App development is expensive, and entrepreneurs assume a huge risk when seeking to launch a
new app. New software can cost tens of thousands of dollars to develop, with ongoing maintenance costs that grow as
the software expands. Yet, out of 10,000
new consumer apps, only one will become a financial success.
If you’re an app creator, the odds for success are unfortunately stacked against you.
However, your potential for success can be much greater if you follow the right steps - like creating an effective
low-fidelity prototype to generate early feedback and ensure that you are on the right track.
[ebook-form]
Somewhere around 2009, the startup world was introduced to the concept of the lean startup.
In his book The Lean Startup, Eric Ries describes a new methodology to
develop businesses. This methodology seeks to shorten product development cycles and prove the viability of business
models by launching experiments through iterative product releases. One of these experimental methods is
prototyping, and especially, building and testing low-fidelity prototypes.
In the following post, we will look into how prototyping can help you as you build your app
and explain exactly how to build your first low-fidelity prototype.
 Low-fidelity prototypes provide many great benefits to entrepreneurs, designers, and
developers of new app solutions. There are five major reasons that you should add low-fidelity prototyping into your
app development process.
Low-fidelity prototypes provide many great benefits to entrepreneurs, designers, and
developers of new app solutions. There are five major reasons that you should add low-fidelity prototyping into your
app development process.
 Once the elements of each screen have been laid out, they can be positioned into a storyboard
that details the purpose of each page and the response of each element. A flow for each button, icon or link can be
defined using arrows that point to other screens and display what happens when a specific element is
clicked.
Once the elements of each screen have been laid out, they can be positioned into a storyboard
that details the purpose of each page and the response of each element. A flow for each button, icon or link can be
defined using arrows that point to other screens and display what happens when a specific element is
clicked.
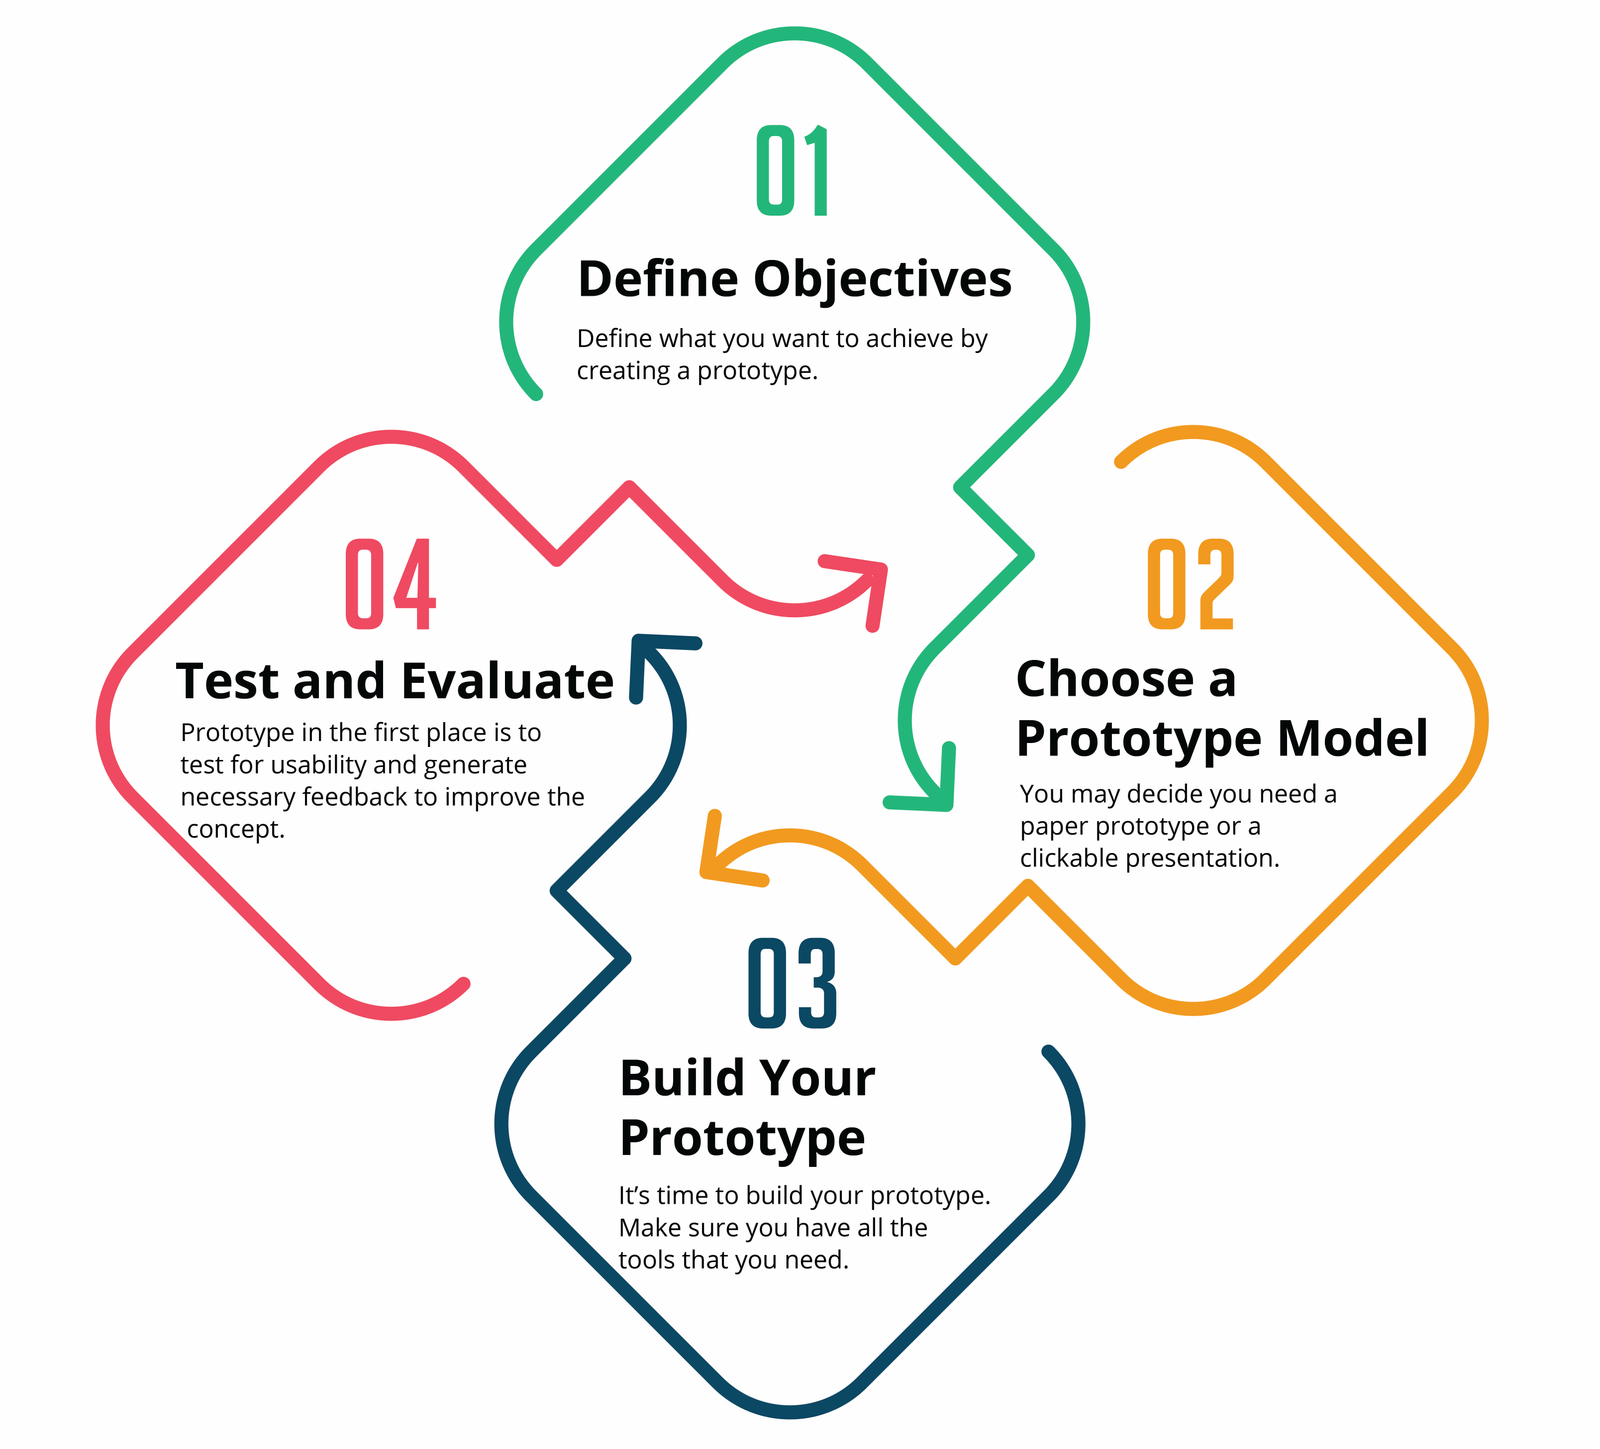 Low-fidelity prototypes are simple to construct and can provide a significant level of
insight to improve your concept. Although the process is simple, there are still several considerations you want to
keep in mind as you give your idea it’s first visual life. Here are five steps you should follow when creating a
prototype.
Low-fidelity prototypes are simple to construct and can provide a significant level of
insight to improve your concept. Although the process is simple, there are still several considerations you want to
keep in mind as you give your idea it’s first visual life. Here are five steps you should follow when creating a
prototype.
What is prototyping?
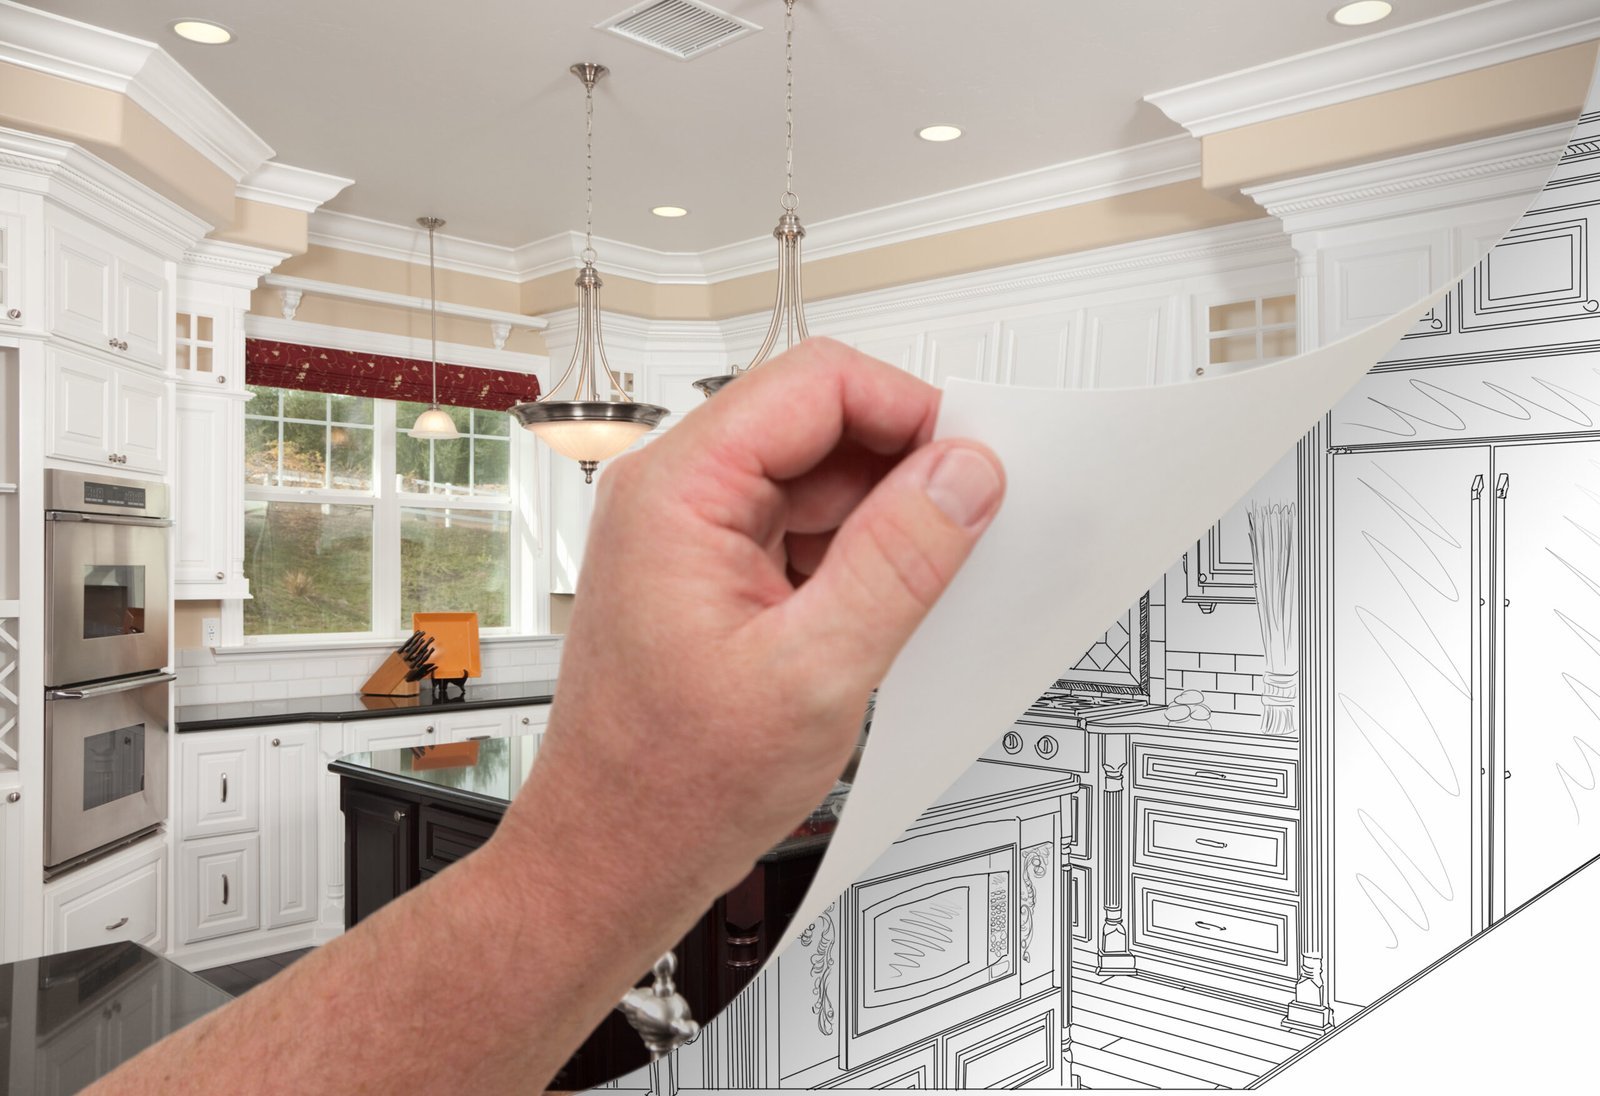
Building an app is challenging. There are many variables involved between the time an idea is conceptualized and the point that it is successfully launched to market. The closer a project is to being finished, the more expensive it becomes to make changes and implement feedback. A prototype is an early product sample that allows entrepreneurs to effectively test their concepts. When building an app, prototyping is often used while designing the user experience (UX) and user interface (UI). The prototyping process allows designers to experience the application as a user, before even going into the actual design stage. App designers use prototypes in the same way that writers use an outline. Writers use headings in their outline to map out the flow of their piece, while app designers use pages to map out the flow of their software.Prototype Categories
While there are many types of prototypes, they can generally be summed up in one of two categories - low-fidelity and high-fidelity prototypes. Some people include a third category - medium-fidelity prototypes. These models are digitized and may have some clickable/interactive areas. They include virtual elements but do not take as much effort to build as common high-fidelity prototypes. In many cases though, these prototypes still fall into a high-fidelity category.Why create a low-fidelity prototype?
Low-fidelity prototypes provide many great benefits to entrepreneurs, designers, and
developers of new app solutions. There are five major reasons that you should add low-fidelity prototyping into your
app development process.
Team Collaboration
In most cases, designing is not a one-person activity. For an app startup, the app design process may include several managers, marketers, designers, developers and beyond. Low-fidelity prototypes provide a non-intense opportunity for teams to map out their app concepts and make changes with the least amount of risk. Paper prototypes, for example, can be constructed at little to no cost. Members of the team can provide their feedback and the ideas can be implemented immediately - with no risk aside from losing a few hours of time. During this stage, inefficiencies in user experience and screen flow can be ironed out, while the general layout of the application can be perfected.First Visualizations
Although you will likely wireframe your idea first, a low-fidelity prototype gives you the first visualization of what the app will actually look like in motion. Trying to explain a complex vision that you see in your head isn’t always easy, but with a low-fidelity prototype, team members and consumers are able to easily see what your concept is and how it will perform once it is built. The tangible visualization of a project is important. When an idea is in your head, it’s difficult to notice inefficiencies or weaknesses. By skipping the prototyping stage, inevitably, these weaknesses will make their way into your software. Realizing these weaknesses after development can cost several thousands of dollars. These same changes, if made in the low-fidelity prototyping stage, probably wouldn’t have cost anything to change.Testing & Validation
Prototypes provide the lowest-risk method for testing an idea and generating real user feedback. In the early stages of app design and development, user feedback is important. As you test your concept more and more with real users, you learn more about what those users need, how they behave, and what they expect from your solution. Wireframes, while usually understood by the management and design team, usually progressed enough for users to comprehend. Prototypes, on the other hand, give something real for users to touch, use, or at least, see in action. Prototypes can be used in focus groups, sent to beta users, or even used as a customer demo. They can be used in a variety of ways to generate feedback, gather data, generate insights, and validate your customer assumptions.Types of low-fidelity prototypes
Low-fidelity prototypes can take on many forms from simple pen/paper sketch prototypes to concept demos. Some of the most common low-fidelity prototypes are described below.Storyboards
Storyboards go one step beyond a simple app wireframe. Each screen in the storyboard can be hand-drawn using UI stencils or even constructed of different on-screen elements from wireframe kits or cards.Paper Prototypes
Storyboards are great for connecting the dots, but they aren’t very interactive. Paper prototypes, on the other hand, are the first and most basic types of prototypes that users can actually engage with. These models are basic and are a far cry from a real application, but they are flexible enough to mimic real functionality. Paper prototypes don’t have to be extensive. Screens can be placed next to each other. A cardboard phone mockup can be placed over the paper to better envision what the application would look like and how it would function if it were developed and digitized. The following video shows an awesome low-fidelity prototype example. This example displays exactly how a simple paper & pen model can represent real app functionality.Clickable Presentations
A clickable presentation carries all of the same benefits as a paper prototype, but it uses presentation software to automate the flow of pages. Each slide in this presentation incorporates a single design or wireframe screen. As the slideshow progresses, the audience is able to better understand how each screen ties together. Clickable presentations can also be used in a focus group setting, presented to large groups, or sent out to beta users for feedback.How To Create A Low-Fidelity Prototype
Low-fidelity prototypes are simple to construct and can provide a significant level of
insight to improve your concept. Although the process is simple, there are still several considerations you want to
keep in mind as you give your idea it’s first visual life. Here are five steps you should follow when creating a
prototype.